Flutterのウィジェット「CupertinoSwitch」の使い方を紹介します。
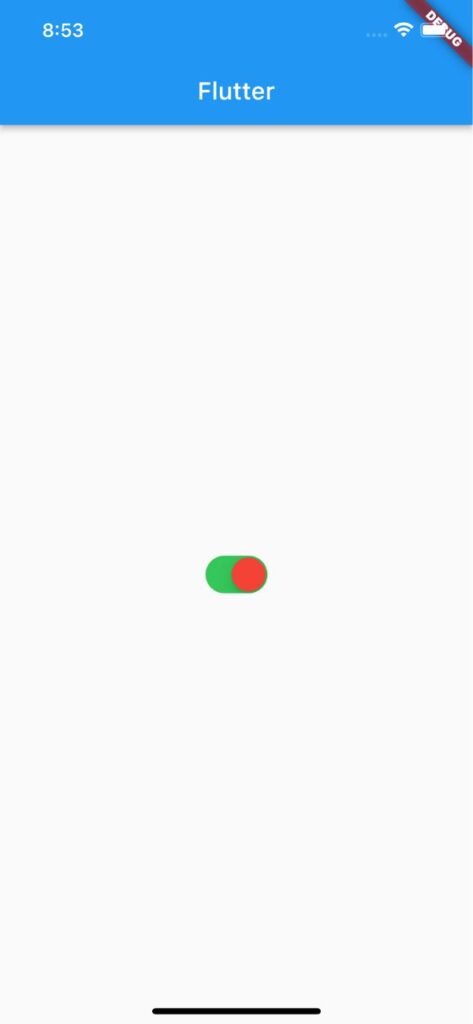
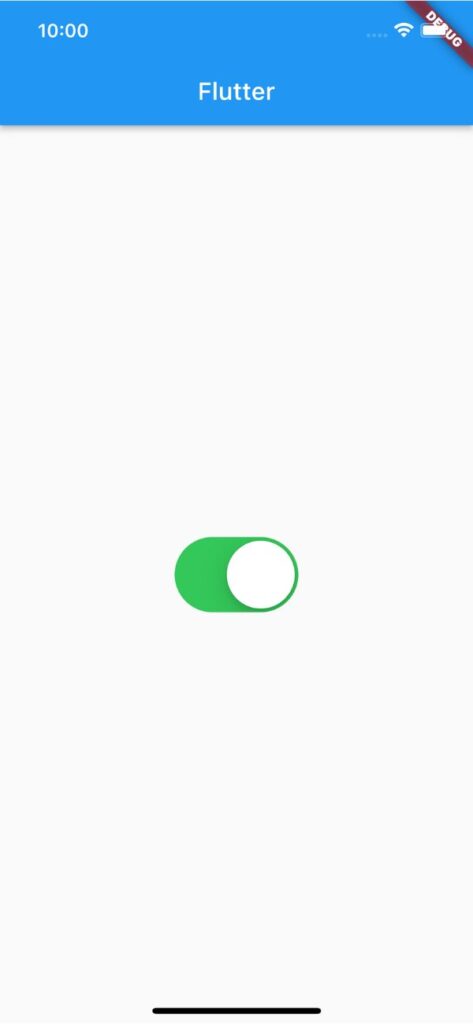
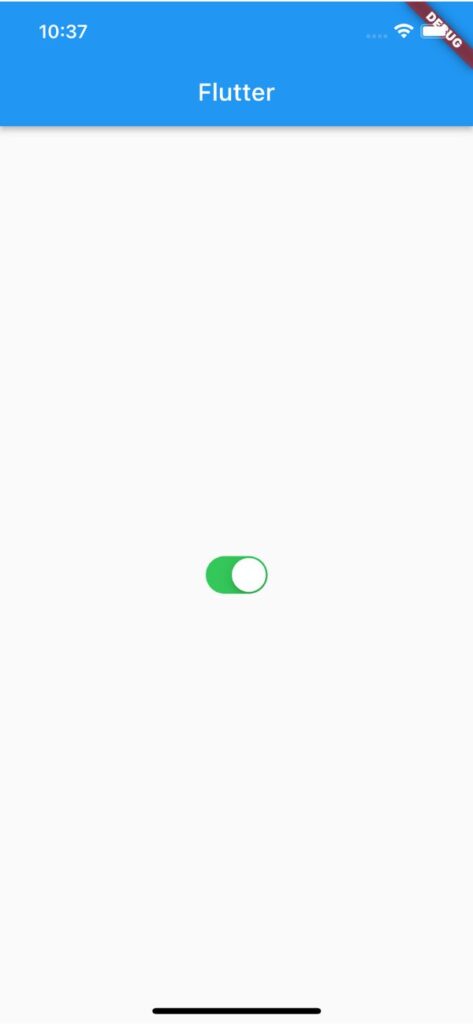
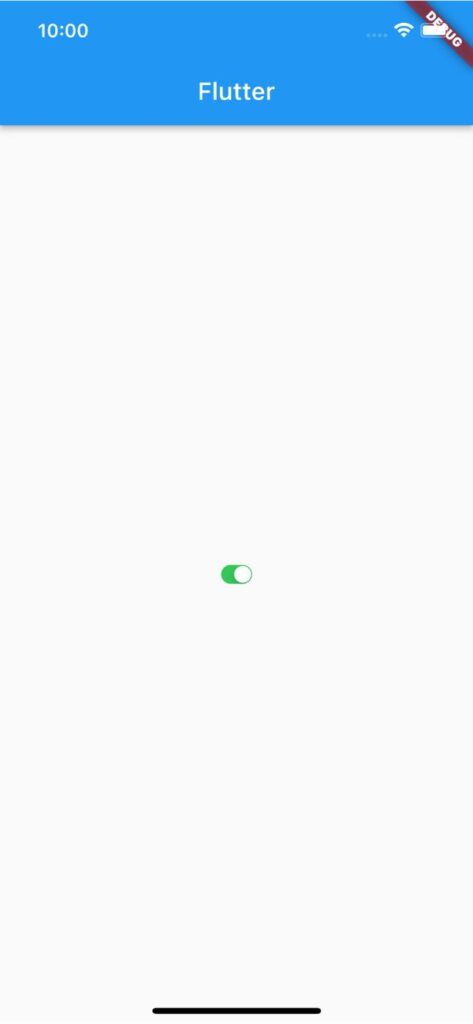
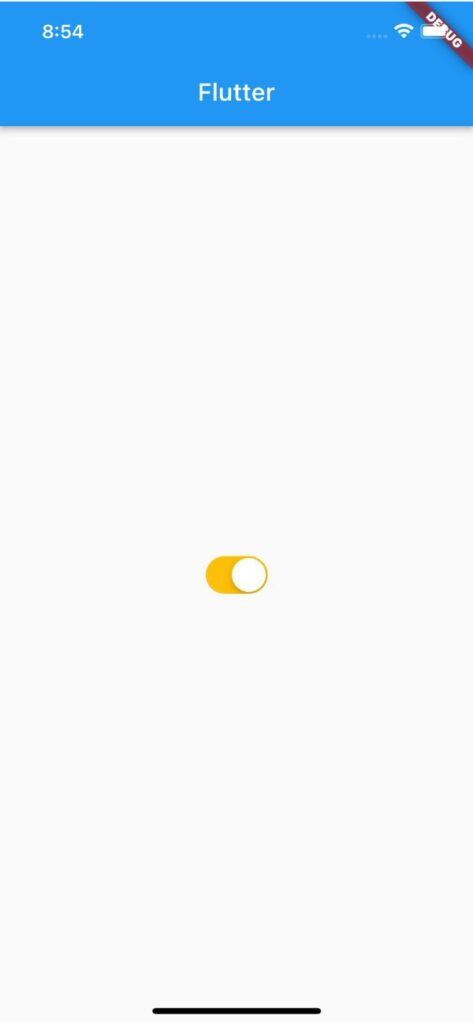
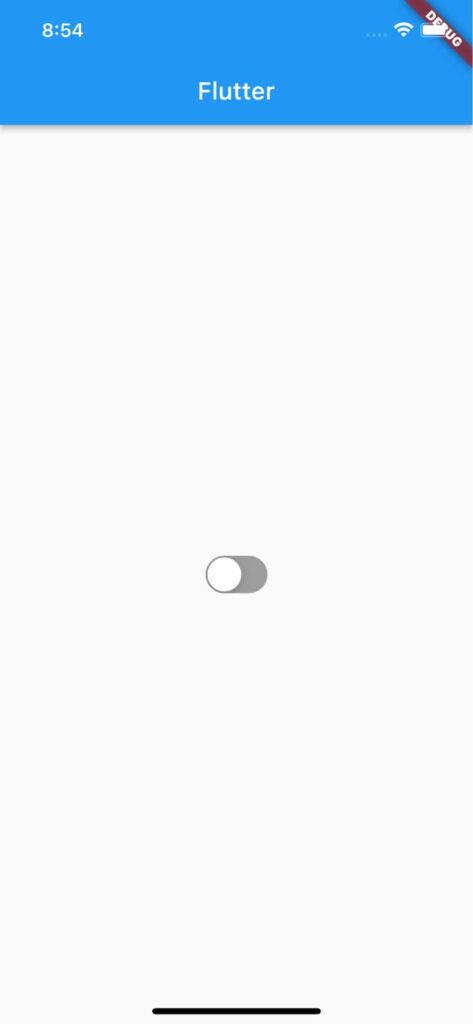
「CupertinoSwitch」を使えばiOS風のトグルボタン(トグルスイッチ)を実装できます。
目次
CupertinoSwitchの使い方
まずは「cupertino」ライブラリをインポートし「CupertinoSwitch」を使用できる環境を整えます。
import 'package:flutter/cupertino.dart';
「CupertinoSwitch」に必須なプロパティは「value」と「onChanged」の2つです。
「value」には初期値となるbool値を渡し、「onChanged」では下記コードのように「value」で指定したbool値が切り替わるように「setState」で処理を書きます。
class _MyAppState extends State<MyApp> {
bool _value = true;
@override
Widget build(BuildContext context) {
return MaterialApp(
home: Scaffold(
appBar: AppBar(title: const Text('Flutter')),
body: Center(
child: CupertinoSwitch(
value: _value,
onChanged: (value) => setState(() => _value = value),
),
),
),
);
}
}
ON/OFFの色を変更する
トグルボタンがONの場合の背景色は「activeColor」、OFFの場合の背景色は「trackColor」で指定できます。
CupertinoSwitch(
activeColor: Colors.amber,
trackColor: Colors.grey,
value: _value,
onChanged: (value) => setState(() => _value = value),
),
つまみの色を変更する
トグルボタンのつまみの色は「thumbColor」で指定できます。
CupertinoSwitch(
thumbColor: Colors.red,
value: _value,
onChanged: (value) => setState(() => _value = value),
),
サイズ変更する
サイズ変更するには「Transform.scale」を使用します。
Transform.scale(
scale: 2,
child: CupertinoSwitch(
value: _value,
onChanged: (value) => setState(() => _value = value),
),
),
サンプルコード
import 'package:flutter/cupertino.dart';
import 'package:flutter/material.dart';
void main() => runApp(MyApp());
class MyApp extends StatefulWidget {
const MyApp({super.key});
@override
State<MyApp> createState() => _MyAppState();
}
class _MyAppState extends State<MyApp> {
bool _value = true;
@override
Widget build(BuildContext context) {
return MaterialApp(
home: Scaffold(
appBar: AppBar(title: const Text('Flutter')),
body: Center(
child: CupertinoSwitch(
activeColor: Colors.amber,
trackColor: Colors.grey,
value: _value,
onChanged: (value) => setState(() => _value = value),
),
),
),
);
}
}
以上です。
合わせて読みたい
あわせて読みたい
【Flutter】Transform.scaleの使い方|サイズを拡大・縮小させる
Flutterのウィジェット「Transform.scale」コンストラクタの使い方を紹介します。 「Transform.scale」を使えば任意のウィジェットを拡大・縮小できます。 【Transform….
あわせて読みたい
【Flutter】ListTileの使い方|リストの選択アイテムを作る
Flutterのウィジェット「ListTile」の使い方を紹介します。 「ListTile」を使えば用意されてあるレイアウト上の任意の位置にウィジェットを配置できます。また「ListVie…