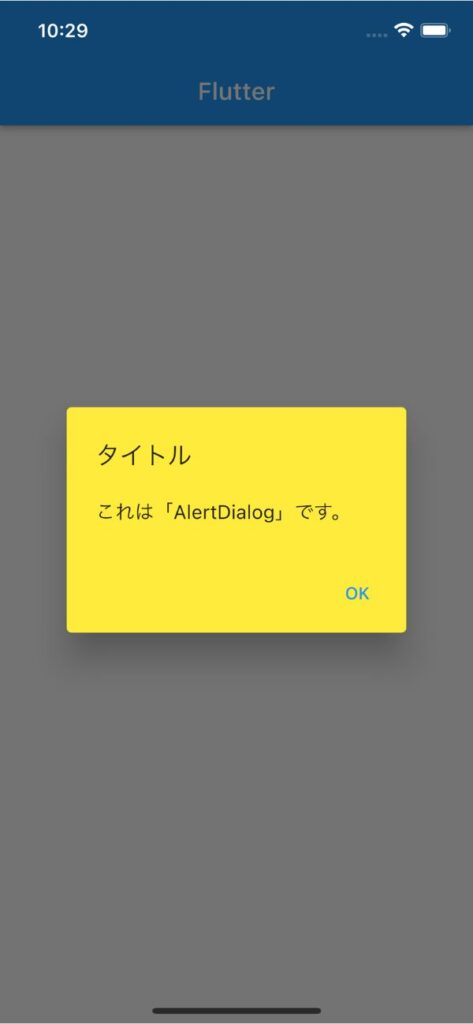
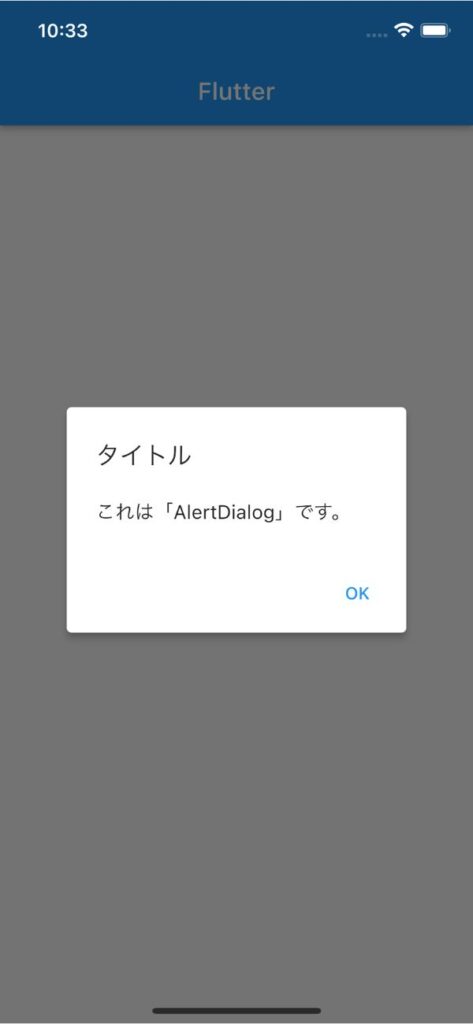
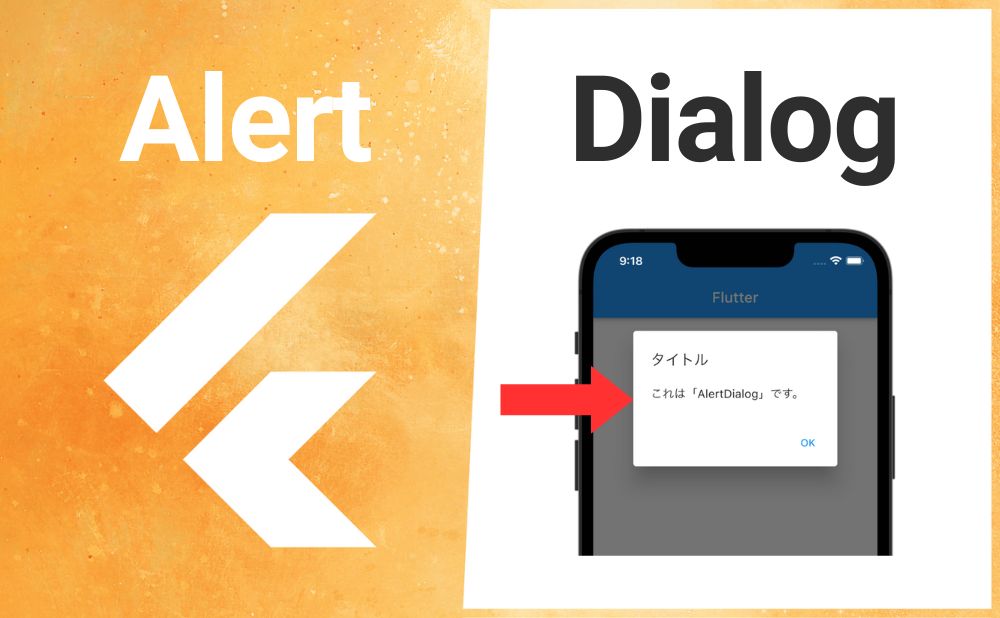
【Flutter】AlertDialogの使い方|アラートダイアログを実装 2023 7/22 2023年7月21日2023年7月22日 FlutterのAlertDialogウィジェットの用途と使い方のまとめ記事です。本記事ではAlertDialogのサンプルコードを使いながら基本的な使い方、知っておきたい基本プロパティを解説していきます。 目次AlertDialogとは? AlertDialogはアラートダイアログ(ポップアップウィンドウ)を表示できるウィジェットです。 </noscript><iframe data-src="https://dartpad.dev/embed-flutter.html?id=a10c66fb70a11d12d8f787d2517cf4d6" width="100%" height="500" class="lazyload" > AlertDialogの基本的な使い方 AlertDialogはshowDialog()を実行して表示できます。(showDialog()の書き方は下のサンプルコードを参照)AlertDialogのtitleでアラートダイアログのタイトル、contentでコンテンツを指定し、actionsに任意のウィジェットを配置できます。AlertDialogを非表示するにはNavigator.of(context).pop()を実行します。 showDialog( context: context, builder: (BuildContext context) { return AlertDialog( title: Text("タイトル"), content: Text('これは「AlertDialog」です。'), actions: [ TextButton( child: Text("OK"), onPressed: () { Navigator.of(context).pop(); }, ), ], ); }, ); 周囲の黒い部分をタップして閉じないようにする AlertDialogはNavigator.of(context).pop()以外にもアラートダイアログの周囲の黒い部分をタップして閉じることができます。 周囲の黒い部分をタップして閉じないようにするにはshowDialog()のbarrierDismissibleの引数にfalseを渡します。 showDialog( barrierDismissible: false, context: context, builder: (BuildContext context) { return AlertDialog( title: Text("タイトル"), content: Text('これは「AlertDialog」です。'), actions: [ TextButton( child: Text("OK"), onPressed: () { Navigator.of(context).pop(); }, ), ], ); }, ); AlertDialogで知っておきたい基本プロパティ スクロールできます プロパティ名説明backgroundColorアラートダイアログの背景色を指定elevationアラートダイアログの影の高さを調整shapeアラートダイアログの形を指定 backgroundColor:アラートダイアログの背景色を指定 backgroundColorの引数にColor渡してアラートダイアログの背景色を指定できます。 AlertDialog( title: Text("タイトル"), content: Text('これは「AlertDialog」です。'), backgroundColor: Colors.yellow, actions: [ TextButton( child: Text("OK"), onPressed: () { Navigator.of(context).pop(); }, ), ], ) アウトプット(左側) 変更後 変更前 elevation:アラートダイアログの影の高さを調整 elevationの引数にdouble値を渡して影の高さを調整できます。 AlertDialog( title: Text("タイトル"), content: Text('これは「AlertDialog」です。'), elevation: 5, actions: [ TextButton( child: Text("OK"), onPressed: () { Navigator.of(context).pop(); }, ), ], ); アウトプット(左側) 変更後 変更前 shape:アラートダイアログの形を指定 shapeの引数にRoundedRectangleBorder()を渡して角丸の調整ができます。RoundedRectangleBorder()>borderRadius>BorderRadius.circular()の引数にdouble値を渡して角丸を調整します。 AlertDialog( title: Text("タイトル"), content: Text('これは「AlertDialog」です。'), shape: RoundedRectangleBorder( borderRadius: BorderRadius.circular(20), ), actions: [ TextButton( child: Text("OK"), onPressed: () { Navigator.of(context).pop(); }, ), ], ); アウトプット(左側) 変更後 変更前 サンプルコード import 'package:flutter/material.dart'; void main() => runApp(const MyApp()); class MyApp extends StatelessWidget { const MyApp({super.key}); @override Widget build(BuildContext context) { return MaterialApp( debugShowCheckedModeBanner: false, home: Scaffold( appBar: AppBar(title: const Text('Flutter')), body: const AlertDialogExample(), ), ); } } class AlertDialogExample extends StatefulWidget { const AlertDialogExample({super.key}); @override State<AlertDialogExample> createState() => _AlertDialogExampleState(); } class _AlertDialogExampleState extends State<AlertDialogExample> { @override Widget build(BuildContext context) { return Center( child: ElevatedButton( child: Text('Show AlertDialog'), onPressed: () { showDialog( context: context, builder: (BuildContext context) { return AlertDialog( title: Text("タイトル"), content: Text('これは「AlertDialog」です。'), elevation: 10, shape: RoundedRectangleBorder( borderRadius: BorderRadius.circular(20), ), actions: [ TextButton( child: Text("OK"), onPressed: () { Navigator.of(context).pop(); }, ), ], ); }, ); }, ), ); } } 合わせて読みたい あわせて読みたい 【Flutter】CheckBoxの使い方|チェックボックスを実装 FlutterのCheckBoxウィジェットの用途と使い方のまとめ記事です。本記事ではCheckBoxのサンプルコードを使いながら基本的な使い方、知っておきたい基本プロパティを解説… あわせて読みたい 【Flutter】CheckboxListTileの使い方|ラベル付きチェックボックスを実装 FlutterのCheckboxListTileウィジェットの用途と使い方のまとめ記事です。本記事ではCheckboxListTileのサンプルコードを使いながら基本的な使い方、知っておきたい基本… あわせて読みたい 【Flutter】Radioの使い方|ラジオボタン(オプションボタン)を実装 FlutterのRadioウィジェットの用途と使い方のまとめ記事です。本記事ではRadioのサンプルコードを使いながら基本的な使い方、知っておきたい基本プロパティを解説してい… 参考サイト https://api.flutter.dev/flutter/material/AlertDialog-class.html https://www.youtube.com/watch?v=KPxq3SLjg98&ab_channel=HeyFlutter%E2%80%A4com プログラミング Flutter Widget