
FlutterのImageFilteredウィジェットの用途と使い方のまとめ記事です。
本記事ではImageFilteredのサンプルコードを使いながら基本的な使い方、知っておきたい基本プロパティを解説していきます。
目次
ImageFilteredとは?
ImageFilteredは指定したウィジェットをぼかして表示(ブラーエフェクト)したり、回転や傾きなどを調整したりできるウィジェットです。

ImageFilteredの基本的な使い方
まずはImageFilteredを使用するためにdart:uiをインポートします。
import 'dart:ui';ImageFilteredはimageFilterの引数にImageFilter.blur()を渡すことでぼかしの調整、ImageFilter.matrix()を渡すことで回転や傾きの調整ができます。
ImageFilter.blur()でぼかしを調整
ImageFilteredの子ウィジェットで背景画像をぼかしたいウィジェットを指定します。imageFilterにImageFilter.blur()を渡し、ImageFilter.blur()のsigmaXとsigmaYにdouble値を渡してぼかしを調整します。
ImageFiltered(
  imageFilter: ImageFilter.blur(sigmaX: 15, sigmaY: 15),
  child: Image.network(
    'https://images.unsplash.com/photo-1627376617965-b8c29ca91aca',
  ),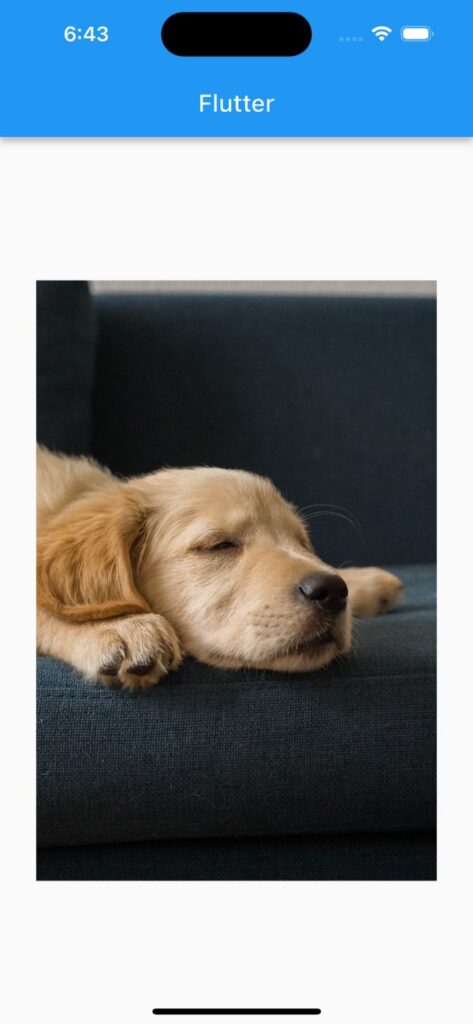
)sigmaXとsigmaYの値が0の場合はぼかしのないデフォルトの画像となり、値が高ければ高いほど画像がぼけて表示されます。

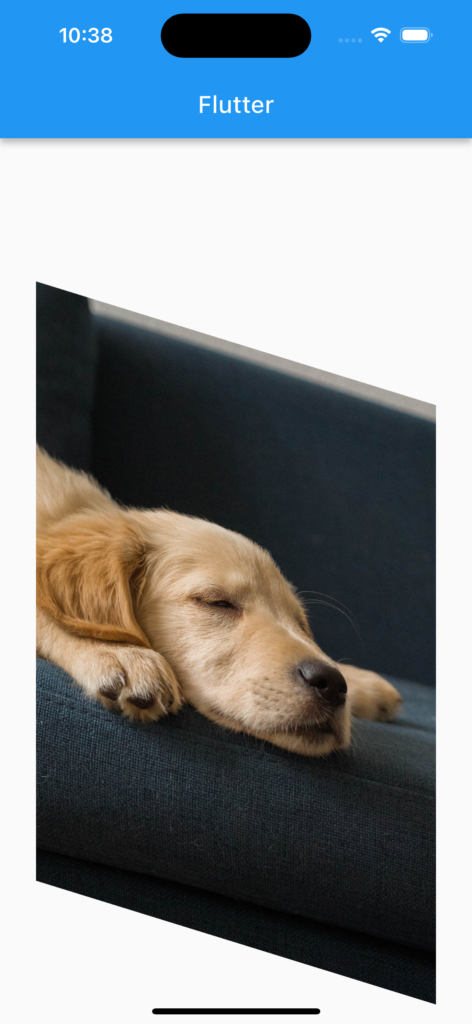
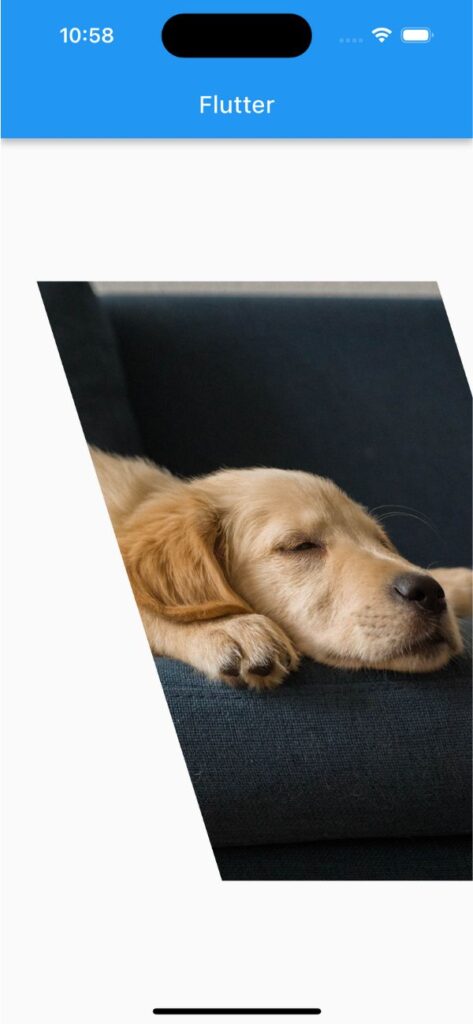
ImageFilter.matrix()で回転・傾きを調整
ImageFilteredの子ウィジェットで回転・傾きを調整したいウィジェットを指定します。imageFilterにImageFilter.matrix()を渡し、ImageFilter.matrix()にMatrix4()を渡して回転や傾きを調整します。
ImageFiltered(
  imageFilter: ImageFilter.matrix(Matrix4.skewY(0.3).storage),
  child: Image.network(
    'https://images.unsplash.com/photo-1627376617965-b8c29ca91aca',
  ),
)
サンプルコード
import 'dart:ui';

import 'package:flutter/material.dart';

void main() => runApp(const MyApp());

class MyApp extends StatelessWidget {
  const MyApp({super.key});

  @override
  Widget build(BuildContext context) {
    return MaterialApp(
      debugShowCheckedModeBanner: false,
      home: Scaffold(
        appBar: AppBar(title: const Text('Flutter')),
        body: ImageFilteredExample(),
      ),
    );
  }
}

class ImageFilteredExample extends StatelessWidget {
  @override
  Widget build(BuildContext context) {
    return Center(
      child: Padding(
        padding: const EdgeInsets.all(30),
        child: ImageFiltered(
          imageFilter: ImageFilter.blur(sigmaX: 5, sigmaY: 5),
          child: Image.network(
            'https://images.unsplash.com/photo-1627376617965-b8c29ca91aca',
          ),
        ),
      ),
    );
  }
}
合わせて読みたい
あわせて読みたい

【Flutter】AppBarの戻るボタンを非表示にする
こんにちは、フラメルです。 今回は画面遷移する際にAppBarに自動生成される戻るボタンを非表示にする方法を紹介します。 AppBarの戻るボタンを非表示にする方法 戻るボ…
あわせて読みたい
【Flutter】Padding|余白を外側に作る
こんにちは、フラメルです。 今回はPaddingを使用して余白を作る方法を紹介します。 余白を外側に作る方法 Paddingあり Paddingなし ウィジェットの外側に余白を作るに…
あわせて読みたい
【Flutter】Radioの使い方|ラジオボタン(オプションボタン)を実装
FlutterのRadioウィジェットの用途と使い方のまとめ記事です。本記事ではRadioのサンプルコードを使いながら基本的な使い方、知っておきたい基本プロパティを解説してい…