

Flutterのウィジェット「ListTile」の使い方を紹介します。
「ListTile」を使えば用意されてあるレイアウト上の任意の位置にウィジェットを配置できます。また「ListView」などリスト表示するウィジェットの選択アイテムを作る際などに使用されます。
目次
ListTileの使い方
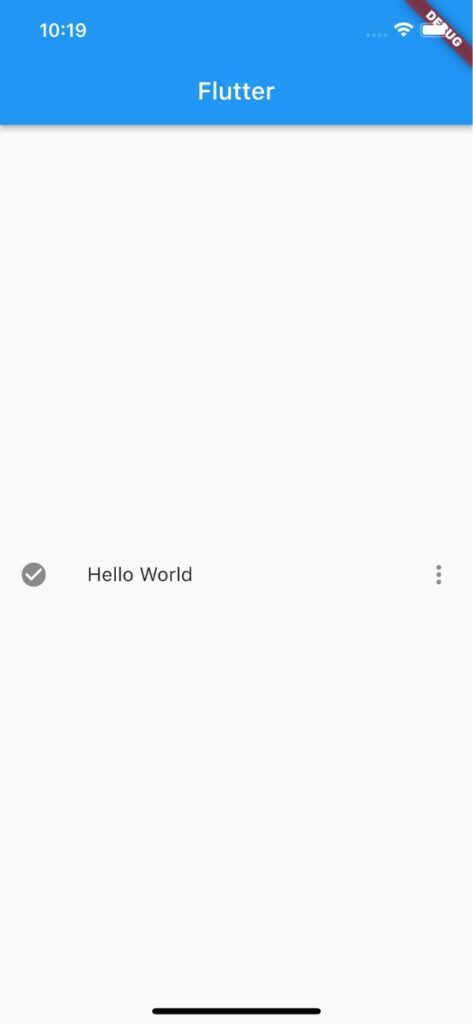
「ListTile」の基本は下記コードの通りです。
「leading」で左側、「title」で中央コンテンツ、「trailing」で右側に任意のウィジェットを配置できます。
ListTile(
  leading: Icon(Icons.check_circle),
  title: Text('Hello World'),
  trailing: Icon(Icons.more_vert),
),
影をつける
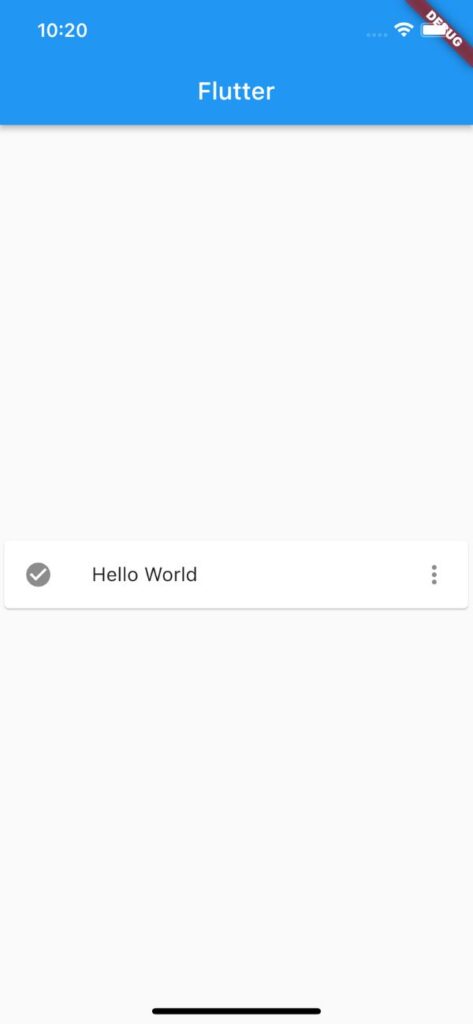
「ListTile」に影をつけて立体表示するには「Card」または「Material」を使用します。
Card(
child: ListTile(
leading: FlutterLogo(),
title: Text('Hello World'),
trailing: Icon(Icons.more_vert),
),
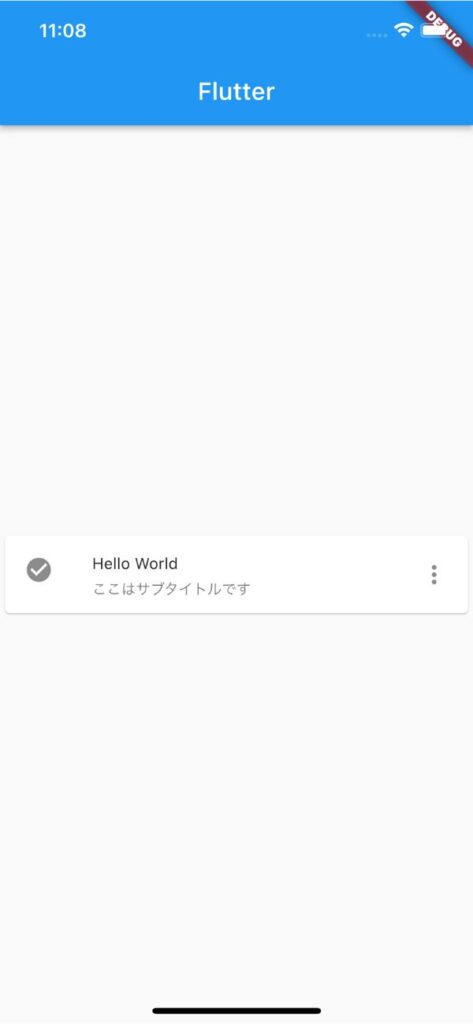
),サブコンテンツをつける

「title」の下にサブコンテンツを表示したい場合は「subtitle」を使用します。
Card(
  child: ListTile(
    leading: Icon(Icons.check_circle),
    title: Text('Hello World'),
    subtitle: Text('ここはサブタイトルです'),
    trailing: Icon(Icons.more_vert),
  ),
),
背景色を変更する
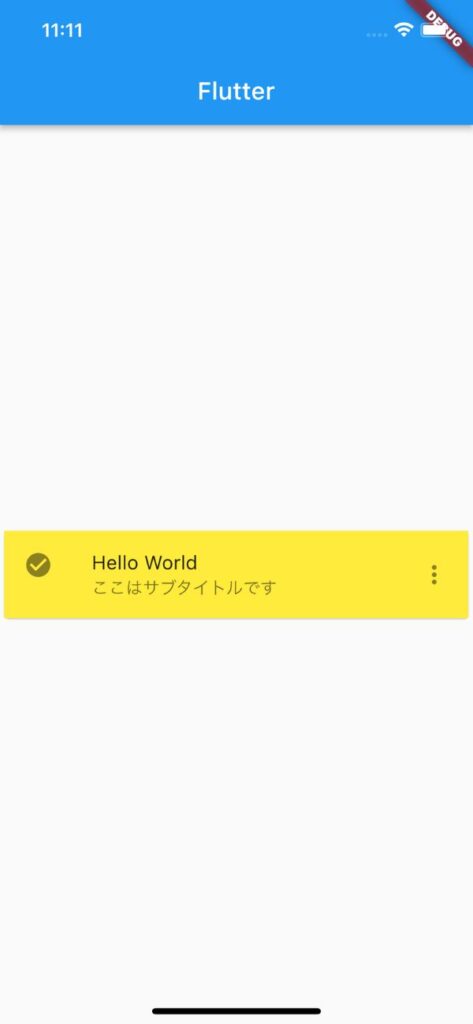
背景色を変更するには「tileColor」を使用します。
Card(
  child: ListTile(
    leading: Icon(Icons.check_circle),
    title: Text('Hello World'),
    subtitle: Text('ここはサブタイトルです'),
    trailing: Icon(Icons.more_vert),
    tileColor: Colors.yellow,
  ),
),
密度を高める
密度を高めるには「dense」を「true」にします。
デフォルト値は「false」です。
Card(
  child: ListTile(
    leading: Icon(Icons.check_circle),
    title: Text('Hello World'),
    subtitle: Text('ここはサブタイトルです'),
    trailing: Icon(Icons.more_vert),
    dense: true,
  ),
),
以上です。
合わせて読みたい
あわせて読みたい

【Flutter】Cardの使い方|高さ・角丸・余白・背景色の設定
「影のあるContainerを実装したい」こんな時に便利なのが Card ウィジェットです。Cardを使用することで影のあるレイアウトボックスを実装できます。CardはContainerの…
あわせて読みたい

【Flutter】Cardの角丸を調整する
Flutterのウィジェット「Card」の角丸を調整する方法を紹介します。 角丸を調整するには「shape」を使用していきます。 Cardの角丸を調整する方法 角丸のサイズ調整は「…
あわせて読みたい

【Flutter】ListTileに影をつけて立体表示する
Flutterのウィジェット「ListTile」を立体的に表示する方法を紹介します。 今回は「Card」を使って「ListTile」を立体的に表示させていきます。 ListTileに影をつける方…