

Flutterのウィジェット「ListTile」を立体的に表示する方法を紹介します。
今回は「Card」を使って「ListTile」を立体的に表示させていきます。
目次
ListTileに影をつける方法
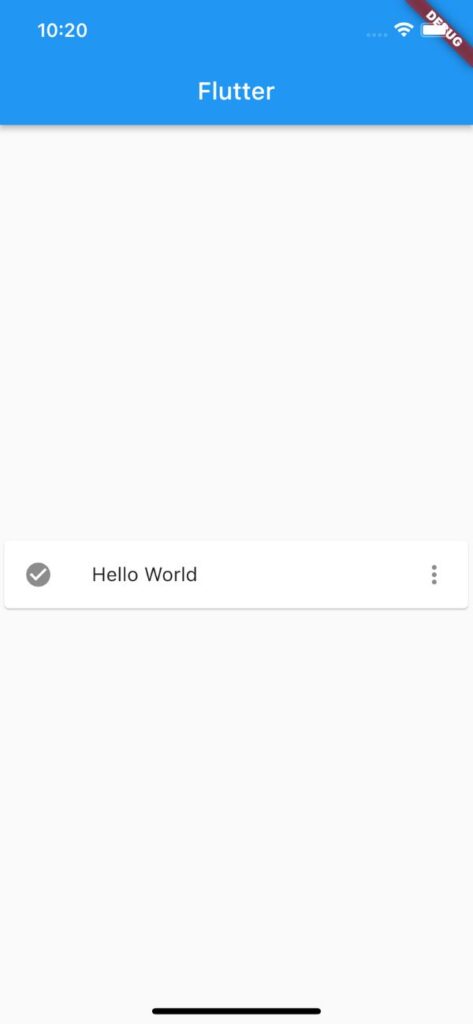
「ListTile」に影をつけて立体的に表示するには「Card」でラップします。
Card(
  child: ListTile(
    leading: Icon(Icons.check_circle),
    title: Text('Hello World'),
    trailing: Icon(Icons.more_vert),
  ),
),
影の高さを変更する
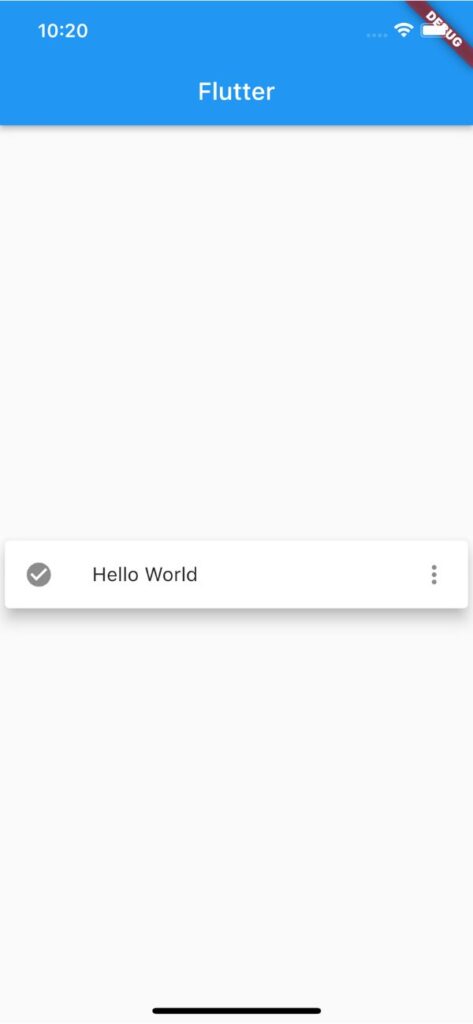
影の高さを変更するには「Card」の「elevation」を使用します。
Card(
  elevation: 10,
  child: ListTile(
    leading: Icon(Icons.check_circle),
    title: Text('Hello World'),
    trailing: Icon(Icons.more_vert),
  ),
),
Materialウィジェットでも影をつけれる
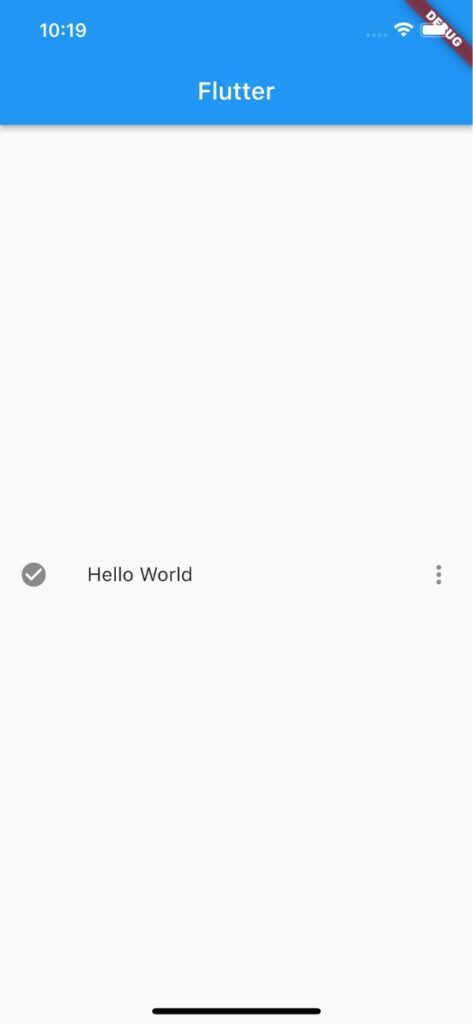
「Card」を使用せず「Material」で影をつけることも可能です。
「Material」では「elevation」で影の高さを指定します。デフォルト値は「0」です。
Material(
  elevation: 10,
  child: ListTile(
    leading: Icon(Icons.check_circle),
    title: Text('Hello World'),
    trailing: Icon(Icons.more_vert),
  ),
),
以上です。
合わせて読みたい
あわせて読みたい

【Flutter】Materialの使い方|マテリアルウィジェットを装飾する
Flutterのウィジェット「Material」の使い方を紹介します。 「Material」ではマテリアルウィジェットの色や形など指定できます。 Materialの使い方 「Material」は色や…