

こんにちは、フラメルです。
今回はウィジェットを積み重ねて表示できるStackの使い方を紹介します。
目次
Stackの使い方

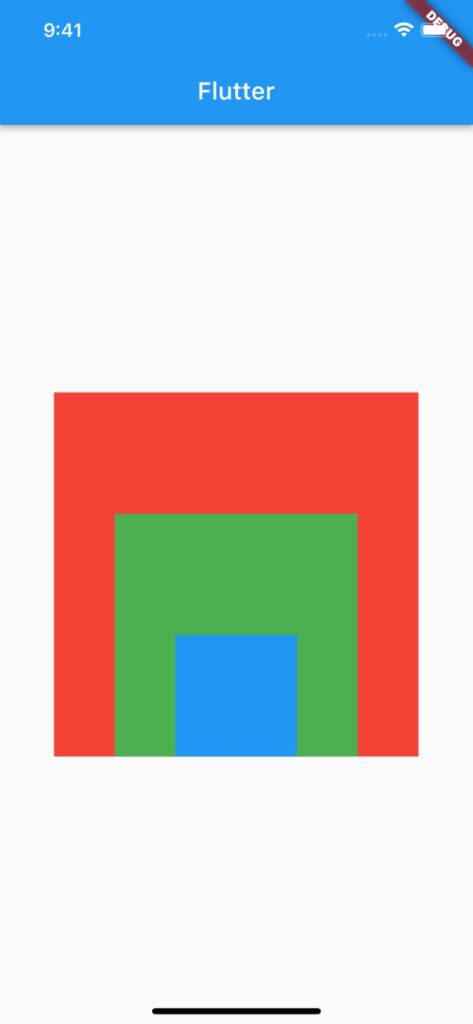
Stackではchildrenに積み重ねて表示させたいウィジェットを下層から順に追加します。
Stack(
  children: [
    Container(
      width: 300,
      height: 300,
      color: Colors.red,
    ),
    Container(
      width: 200,
      height: 200,
      color: Colors.green,
    ),
    Container(
      width: 100,
      height: 100,
      color: Colors.blue,
    )
  ],
),
積み重ねる要素の位置を指定
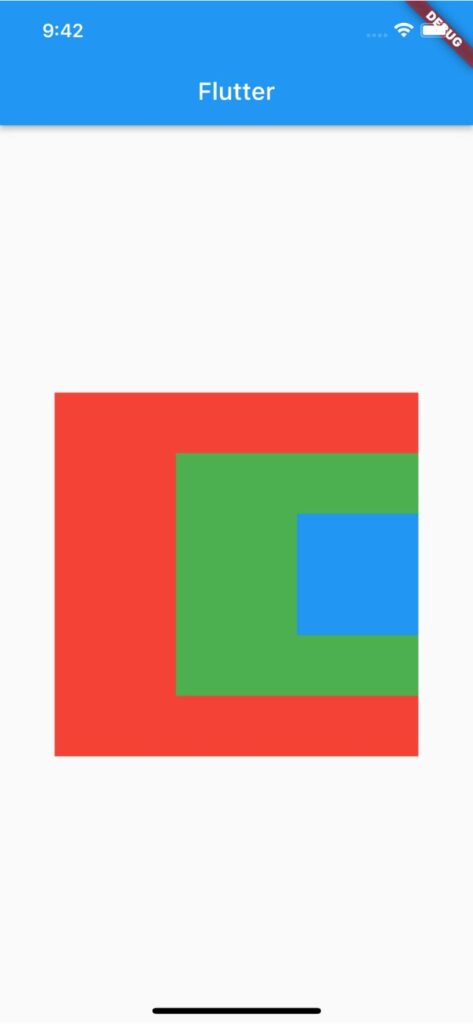
積み重ねる要素の位置を指定するにはalignmentを使用します。
下記コードではalignmentにAlignmentDirectional.bottomCenterを渡して中央下に要素を重ねています。
Stack(
  alignment: AlignmentDirectional.bottomCenter,
  children: [
    Container(
      width: 300,
      height: 300,
      color: Colors.red,
    ),
    Container(
      width: 200,
      height: 200,
      color: Colors.green,
    ),
    Container(
      width: 100,
      height: 100,
      color: Colors.blue,
    )
  ],
),
要素別に位置を指定
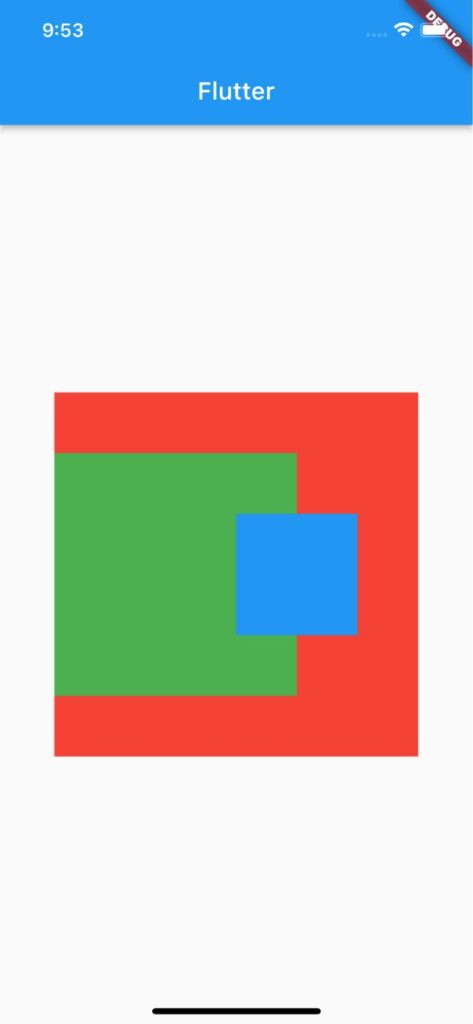
要素別に位置を指定したい場合はPositionedを使用します。
Stack(
  children: [
    Container(
      width: 300,
      height: 300,
      color: Colors.red,
    ),
    Positioned(
      top: 50,
      left: 0,
      child: Container(
        width: 200,
        height: 200,
        color: Colors.green,
      ),
    ),
    Positioned(
      top: 100,
      left: 150,
      child: Container(
        width: 100,
        height: 100,
        color: Colors.blue,
      ),
    )
  ],
),
サンプルコード
import 'package:flutter/material.dart';

void main() => runApp(MyApp());

class MyApp extends StatelessWidget {
  const MyApp({super.key});

  @override
  Widget build(BuildContext context) {
    return MaterialApp(
      home: Scaffold(
        appBar: AppBar(title: Text('Flutter')),
        body: Center(
          child: Stack(
            children: [
              Container(
                width: 300,
                height: 300,
                color: Colors.red,
              ),
              Positioned(
                top: 50,
                left: 0,
                child: Container(
                  width: 200,
                  height: 200,
                  color: Colors.green,
                ),
              ),
              Positioned(
                top: 100,
                left: 150,
                child: Container(
                  width: 100,
                  height: 100,
                  color: Colors.blue,
                ),
              )
            ],
          ),
        ),
      ),
    );
  }
}
以上です。
合わせて読みたい
あわせて読みたい


【Flutter】Padding|余白を外側に作る
こんにちは、フラメルです。 今回はPaddingを使用して余白を作る方法を紹介します。 余白を外側に作る方法 Paddingあり Paddingなし ウィジェットの外側に余白を作るに…
あわせて読みたい

【Flutter】EdgeInsets|上下左右の余白を調整
こんにちは、フラメルです。 今回はPaddingなど余白調整をする際に使用されるEdgeInsetsの使い方について紹介します。 EdgeInsets.all|全サイドに同幅の余白を作る Edg…